My recipe comes from William-Sonoma actually. I have been making these cookies for over 9 years. The only thing that I tweak is the flour amount. Depending how your dough is, I sometimes use the whole 2 1/2 cups of flour or only 2 1/4 cup. You will need to use your judgement for this one. Sometimes your egg yolks are a bit bigger and can really throw your measurements off so you'll need to check on your dough while adding the flour. Trust me. I will also post the WS Royal icing recipe and explain how I decorate my cookies with it.
I kind of forgot to take some photos in the beginning but got the most important ones in the end. Lets start baking!
Sugar Cookie from William Sonoma.com
Ingredients:
16 Tbs. (2 sticks) unsalted butter, at room temperature
3/4 cup sugar
3 egg yolks
1 piece vanilla bean, about 2 inches long
2 1/2 cups all-purpose flour (sometimes I used 2 1/4 cups)
1 tsp. baking powder
1/2 tsp. salt
Colored sugars and decorating pens
Directions:
In a bowl, using an electric mixer, beat together the butter and sugar on medium speed until light and fluffy, about 4 minutes.


Position a rack in the upper third of an oven and preheat to 350°F. Butter 2 large baking sheets.
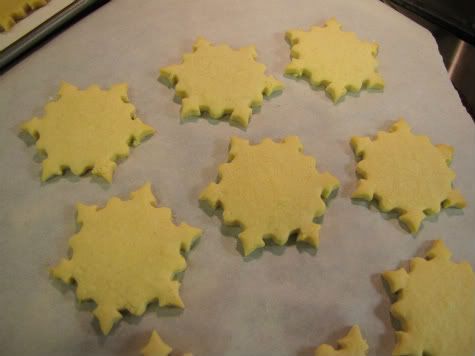
On a lightly floured work surface, roll out a dough disk 1/4 inch thick. Using cookie cutters, cut out desired shapes. Transfer the cutouts to the prepared baking sheets.
Gather up and reroll the scraps and cut out more cookies. Repeat with the remaining dough disks.
Bake until the cookies are golden on the edges, about 8 minutes. Transfer the cookies to wire racks and let cool completely. Decorate the cookies as desired with colored sugars and decorating pens.
Store in an airtight container at room temperature for up to 1 week. Makes 24 to 30 cookies, depending on cutter size.
Royal Icing recipe from William-Sonoma.com
Ingredients:
3 egg whites, at room temperature
4 1/2 cups confectioners' sugar
1/2 tsp. cream of tartar
Pinch of salt
A few drops of vanilla extract or fresh
lemon juice (optional)
Directions:
In the bowl of an electric mixer fitted with the whisk attachment, beat the egg whites, confectioners' sugar, cream of tartar and salt on medium-low speed until blended. Add the vanilla or lemon juice, increase the speed to medium-high, and continue beating until stiff peaks form and the mixture is nearly triple in volume, 7 to 8 minutes.
Remove the bowl from the mixer, cover tightly with plastic wrap and store at room temperature until ready to use, up to 6 hours.
Makes 5 to 6 cups.

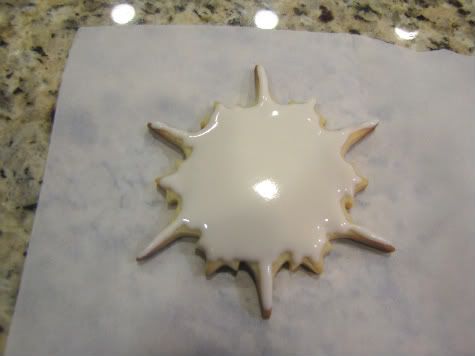
Here's my tip in regards to icing a cookie. If you are going to dye some, take some of that royal icing into a small bowl and use whatever color you want. Prefer using gel coloring instead of liquid dye. Gels won't interfer much on the consistency of the icing. Now do not make the icing too runny or it will run over the sides.
Also, outline the edges of the cookie first then fill it in. Use toothpicks to make sure the icing goes into every corner.
The right tip also helps. I used tip #3 to decorate my cookies. Also let the icing set for 15+ minutes before layering another color icing on top of the first one. While the icing is still soft, you can start decorating your cookies with non pareils, silver dragee, sugar sand, etc. Just remember once you are done decorating them, let them set for an hour or more before packaging them. You don't want them to get smooshed I hope this helps you guys out when decorating a cookie. It might look difficult but it's simple. Just need a steady hand and practice.


Bon Appetit!


2 comments:
Thanks for the tutorial! Those cookies look so pretty! I am making gifts with edibles and I sure would love to add these. Maybe I should make them first and see if I can get it right! I would hate for the recipient to say "What is it?". Thanks for sharing. Have a great day!
I couldn't agree more. I like how you add up vanilla beans, definitely add a great twist that make this dish mouth watering.
Post a Comment