Well I've been searching for a cute, small, white vintage Christmas tree that's less than $50. No such luck so I decided to make something for my kitchen. It cost me about $15-17 and it all came from Micheals and my butler's pantry.
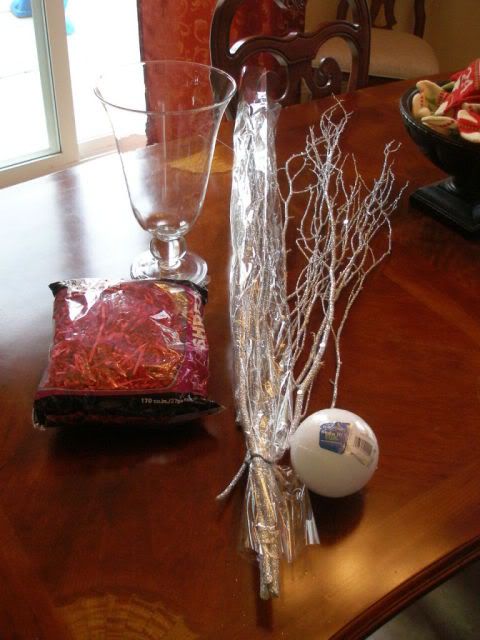
Here's what you need if you like this idea. Tree branches, a container to put those branches, styrofoam and shredded paper.
Here's what you need if you like this idea. Tree branches, a container to put those branches, styrofoam and shredded paper.
First cut the branches to the size that you want it to be.
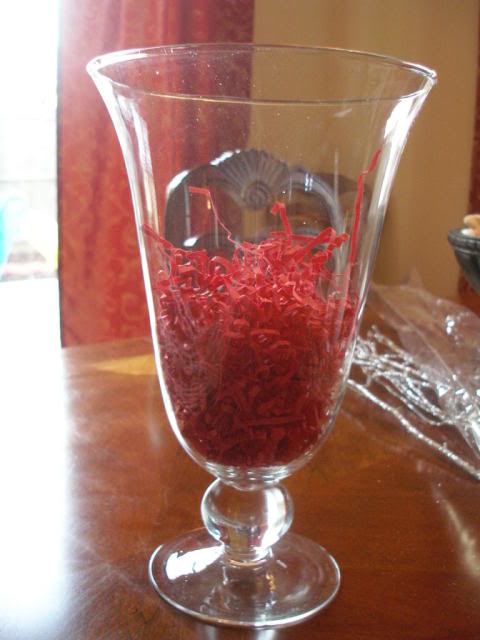
Now take your container and put some of that shredded paper (or whatever else you want, cranberries or fake snow would look nice if you are using a glass container).
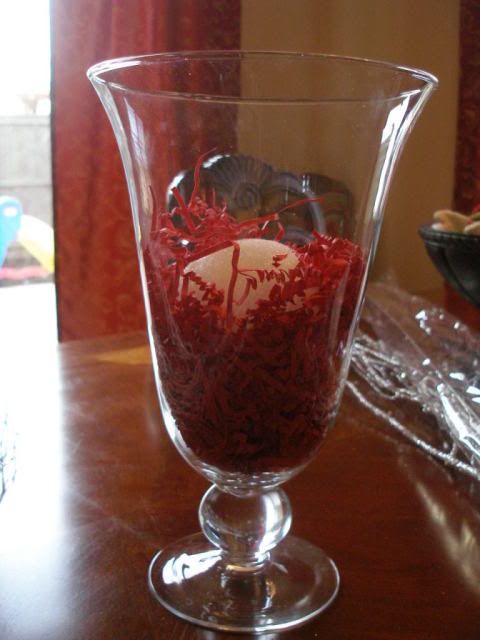
Now put the styrofoam in and make sure you can't see it from the sides.Now take your container and put some of that shredded paper (or whatever else you want, cranberries or fake snow would look nice if you are using a glass container).
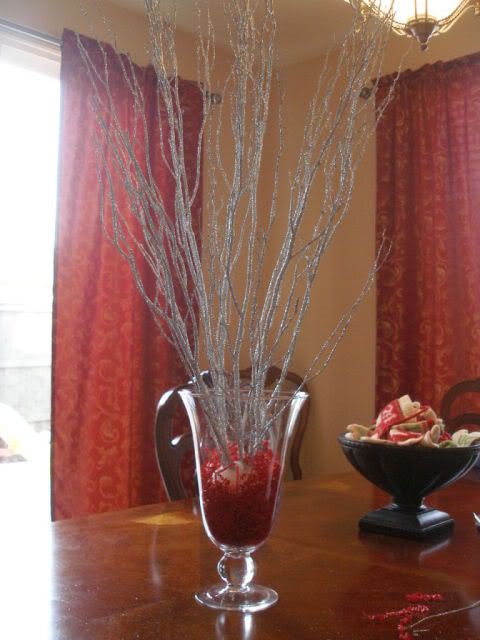
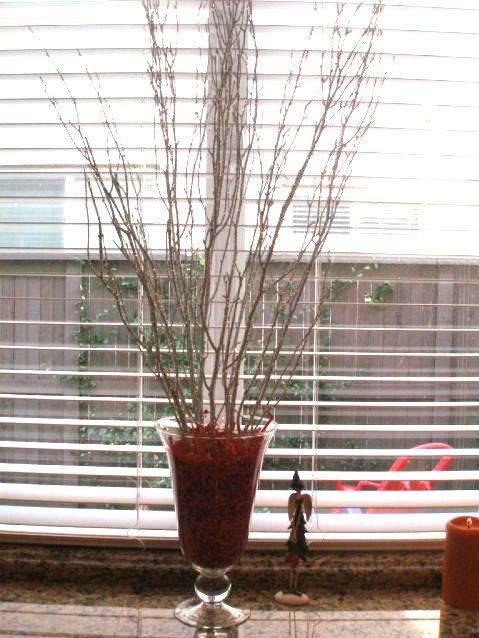
Now start putting your branches in. Don't just put them all in the middle. Fan them out a bit.
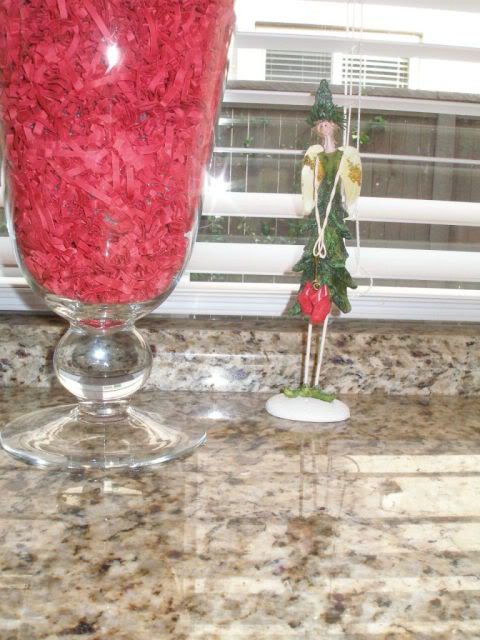
When you are happy with your branches, put some more shredded paper. See the Styrofoam from the side? Use a wooden spatula handle or a butter knife and tuck the paper in.
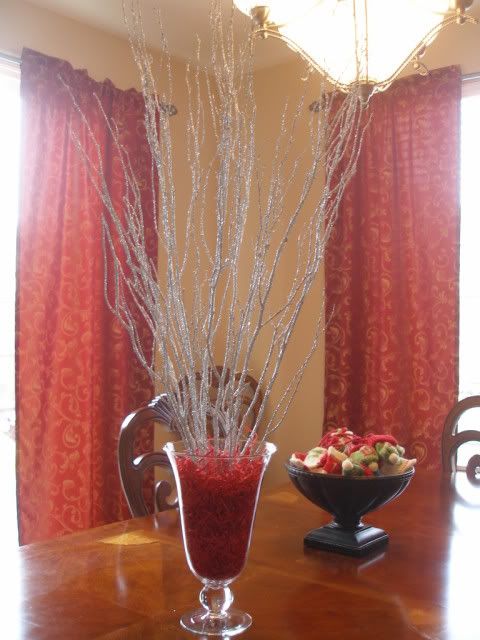
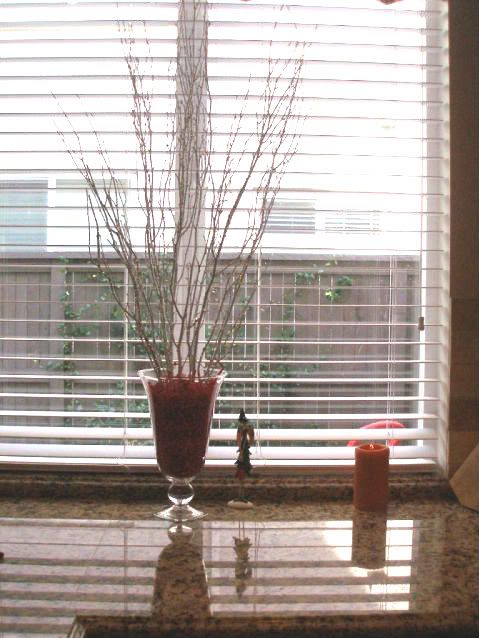
And here it is! I have some cute things to hang on my tree. That will be for another post though. Hope you like this project! It's cute and cheap. Maybe even free if you have any branches in your yard. If you are going to put it on a table, make sure it's spread out all around. Mine is against the window so I don't need it to be well rounded.
Here's my little elf. I don't know if she'll stay there or somewhere else. We'll see.
A Bientot!


2 comments:
I love your new tree! I can't wait to see what you put on it!
Nice decoration idea! I like the branches...
Post a Comment