I like gourmet pizzas. When I used to live in Montreal, I would go to Les Halles D'anjou and pick up some delicious pizza. Eggplant pizzas, potato pizzas or whatever kind they had. That little market area also had a great Italian store where you can buy fresh pasta and sauces too. Mmmm. I once asked the clerk if they would give me their recipe for their cannolis and I would pay. I told them I am moving to California and the city where I am does not have a store like them. lol Got shot down but when I do visit, I go there to buy my pasta. lol
Anyway, there's not too many small pizzarias close to my home except for those big chains or Costco. Don't get me wrong, I love Chicken garlic pizza or like the Costco one but they all taste "eh" compared to the ones I ate back home. I decided to make my own as often as I can since I get to choose my ingredients and I like the taste of the crust. This one is made with olive oil and you can taste it. I cook with olive oil so I enjoyed it. This recipe is from Katies' so I cannot take credit for it. Hubby also prefers my pizza since the cheese stays melted and is soft unlike the dry and hard ones that we get sometimes. Ready for pizza night? Get a movin'!
Ingredients
2 cups Unbleached flour
3/4 cup Warm Water
1 tsp Honey
1/4 tsp Yeast
1/4 cup Olive oil (use just a tiny bit less than 1/4)
1/2 tsp Salt
In a food processor, add the flour, yeast and salt. Turn it on and start blending it.
While it's still on, add the water and honey slowly.
Now add the olive oil slowly until the dough starts making pieces inside your food processor bowl.
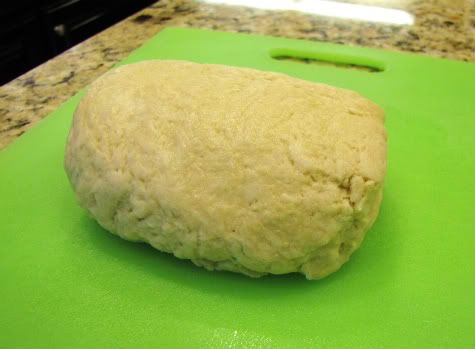
Turn off the machine and turn the dough onto a floured cutting board. Now pull the dough with your hands and smack it on the board. Great as a stress reliever! If the dough is too sticky, add a bit more flour. If too dry, a tiny bit of water.
Put your dough inside a plastic baggie and let it rest in a draft free area for one hour. Resting will make the dough much easier to work with later on.
Preheat oven to 500 after one hour of resting time.
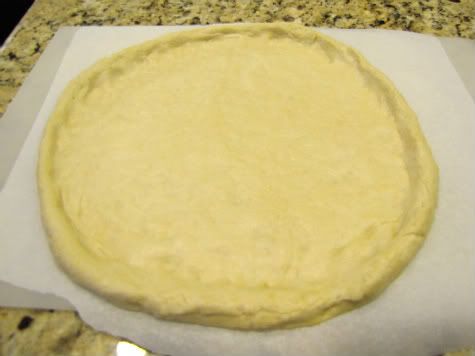
Now take your dough and start pulling it with your hands. Then continue stretching it on top of a pizza stone. This will make a nice 14-16" pizza but you can make smaller ones that your kids can add their favorite toppings.
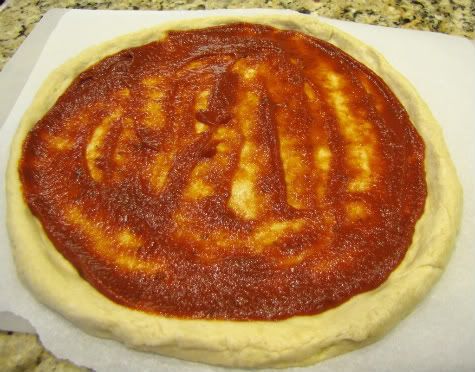
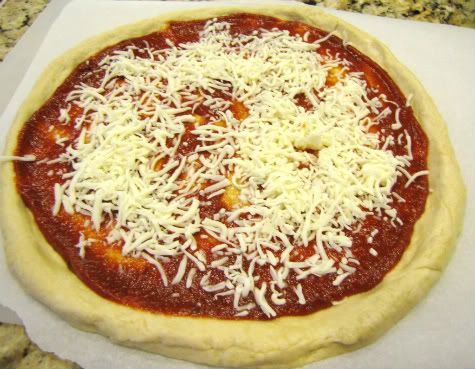
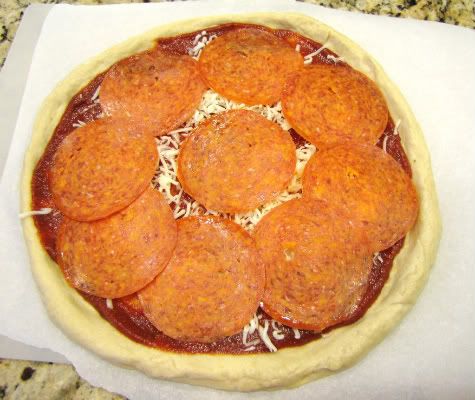
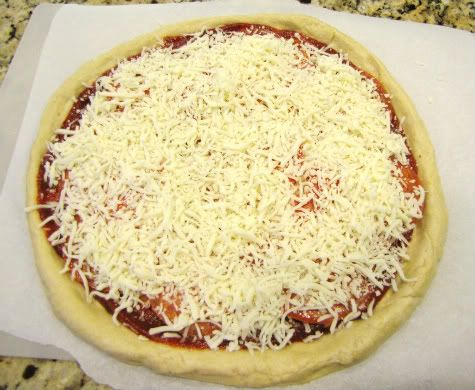
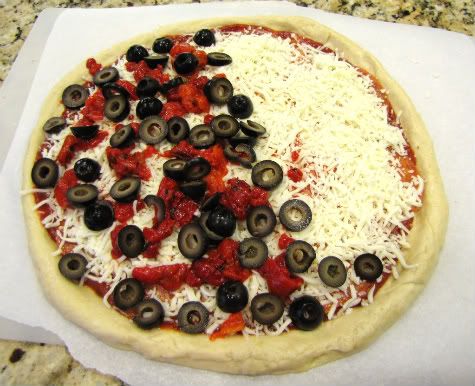
Once you are happy with the size of your pizza, add your favorite pizza sauce. Then add some cheese and whatever toppings you like. I like to add cheese 2 times. What can I say? I love me some cheese! This is about 2 cups of cheese but I'm sure one cup will be fine especially if you are watching your food intake.
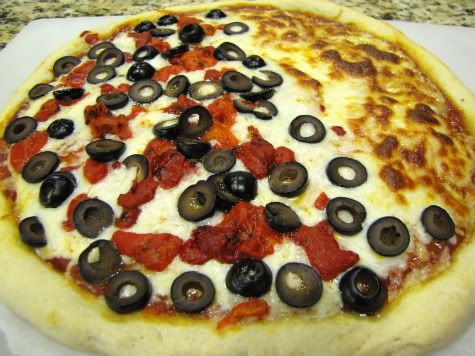
This pizza was customed ordered by my daughter. She only wanted pepperonni and cheese. soupir. One side didn't have the roasted red peppers and sliced black olives. You can use whatever you have in your fridge. It's great in finishing up that ham from Easter if you add some pineapple on it. Mmm!
Ok, so bake in oven for 10-15 minutes until the cheese is bubbly and the crust is getting golden.
Now taste. It won't taste like those frozen pizzas. Good, fresh toppings makes a difference. I can't wait for my tomatoes and basil to be ready. Pizza Margherita, here I come!
Bon Appetit!


4 comments:
That looks really good. My little Avery loves black olives, so if I showed her, she would beg for it! Thanks for the recipe. Have a great day!
Looks great!
i love how fresh it looks!
Yum! I heart pizza. :)
Post a Comment