February 26, 2009

My purse got tagged.

I was tagged by my friend and fellow blogger, Becca, to show everyone my purse. Hmm. Do I really want to show everyone what I had inside? Will you think I am weird? Funny? OCD? lol Well here goes! My cute Nine West purse that my mom got me for Christmas.

Photobucket

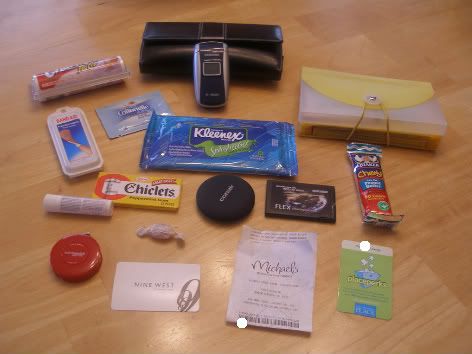
Inside I have little compartments so I also took everything out since they are inside my purse. We have my wallet, cell phone, coupon folder, granola, toilet paper to go, bandaids, wipes, compact mirror, gum, Aleve, one cough drop, Crate and Barrel tape measure, the Nine West card that was inside, mints, recept from Micheals and my Children's Place Perk card.

Photobucket

Ok, so you may notice I have alot of wiping items. I got the toilet paper to go in case I ever had to use it last minute while I was potty training my son months ago. Never had to use it but hey, if we ever get lost in the woods...lol. Those mints I got them for free and they served me well when I waiting for over an hour at Crate and Barrel After Christmas Sale. My only source of nourishment in those terrible hours. lol

Now I need to tag 5 bloggers to play this game.

1)Corey

2)Jodee

3)Suzanne

4)Jen

5)Rosado

A Bientot!

February 25, 2009

Une entrée pour mes invités.

I'm a people person. As long as you are a nice person, I will like you. I enjoy having people over whether it be friends or family. Last year I had some vinyl lettering put on my door to welcome guests that stop by. Once inside, I have tall ceilings and a bridge that connects each side of living space. I always thought it needed something to greet my friends. And so the search begun!

I searched on Etsy and on Yahoo for something cute and I found it. Thoughts that Sticks is a great website where they have some nice sayings or decals for your home. Go and check them out but be careful...your shopping cart might get full quickly! Shipping was quick. I am happy with their services.

Shopping spree

Here's how my entrance looks now. I'm really happy with it. Now I have an empty spot in my daughter's room that needs a sassy sentence. Brows Hihihi

Photobucket

Photobucket

A Bientot!

February 20, 2009

Project for dog owners.

When I moved into our home almost 2 years ago, I decided I wanted to put a sign up that we had a dog. Those who know my dog know she is not even close to being a guard dog. The dog doesn't bark at people or other dogs. Get where I'm going? She's the perfect family dog.
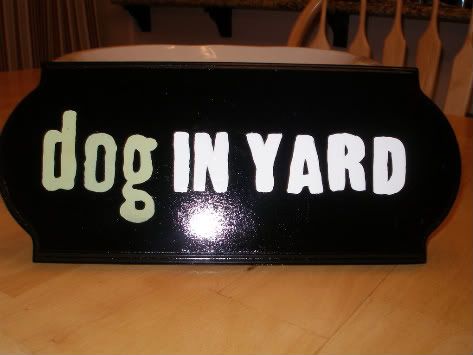
You probably have seen those plastic dog signs. Perfect for a commercial place but for a home? Not so much. What's a girl to do? Online a saw a sign where it said Dogs in yard. Nice! Not beware or watch out but something less aggresive. I decided I would make a sign that looks nice and will tell little hooligans that we have a dog in our yard so don't mess with me. lol Hey! They don't know Sandy.

Winky 2

All you need in this project is a wooden sign, spray paint, paint, brush or stamps and a sealer. I wished I had taken a step by step photo but it was done last year and I wasn't thinking of showing it on my blog. Newbie mistake.

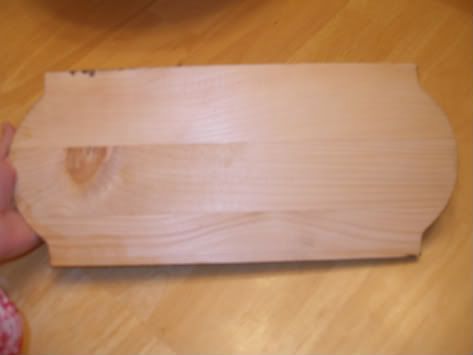
First get a piece of wood for your sign.

Photobucket

Start painting the base on your sign. Two coats is what I did. I chose black since my fence/gate is a dark grayish color. Choose whatever color that will go well with your home. Once the base is dry, either brush or stencils to write the words. My friend came over last year and we tried using stamps. That's what we used here. After some laughs and redo, I went over with a small brush to cover the letters completely. Once that is dry, seal the whole sign with a sealer. Since my sign will be an outside sign, I did 4 coats of sealant. How long will it last? No idea but next winter I will probably have to seal it again.

Isn't it cute? I will use a frame bracket to hang my sign on my gate. Wonder what people will think of it once they see it. lol Can't wait to hang it on my gate!

Photobucket

A Bientot!

February 19, 2009

Baked Rigatoni in a Bechamel Sauce

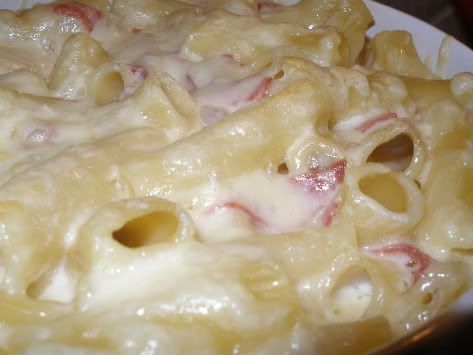
Pasta, pasta, pasta! My family loves pasta! My hubby is half Japanese but I think deep down he's Italian. lol This is a recipe that I have done many times. Easy and doesn't take that long. For this recipe, you can use any type of "tube" pasta. The sauce/cheese will get inside and you'll get a delicious bite into it. The original recipe calls for prosciutto but my daughter ate the whole package! She's my daughter since I also loved it as a child As a kid, while my Canadian friends had ham sandwiches on white bread, I had prosciutto and mozzarella on a Portuguese roll. lol Yeah, I was different.

Lets start cooking dinner.

Photobucket


Ingredients


1 stick Unsalted Butter

1/2 cup + 2Tbsp All purpose flour

4 cups Whole milk, warm

1 cup Fontina, grated

1/2 lbs Prosciutto, thinly sliced or you can use salami of Genoa

1 lbs Dry rigatoni

3 Tbsp Unsalted butter, diced

Pinch of nutmeg

Sea salt and black pepper


Preheat oven to 350.

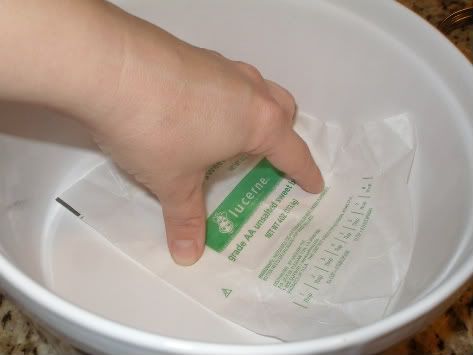
Butter a baking dish. You can use a 13x9 or any shape baking dish. I prefer a souffle dish. Use that butter wrapper to butter it. Less waste.
Photobucket

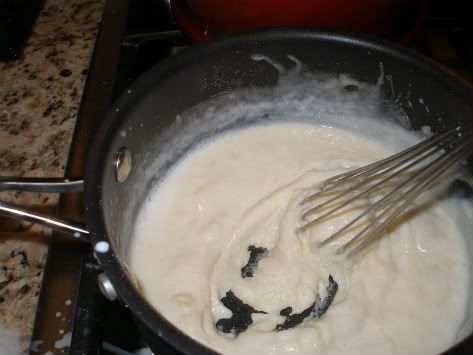
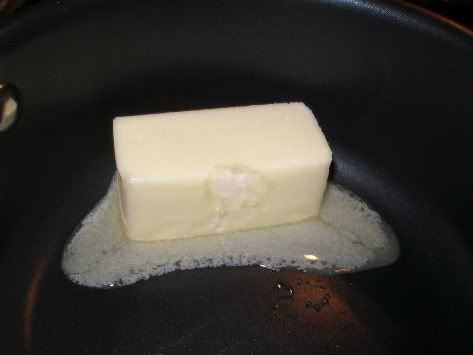
For the Bechamel sauce: In a 2 quart saucepan, melt the butter over medium heat.
Photobucket

Add the flour and whole milk until smooth, about 2 minutes.

Photobucket

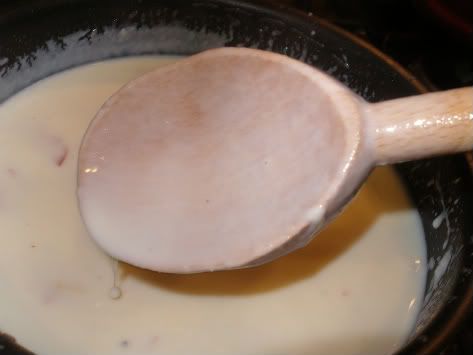
Always stirring gradually, add milk slowly and continue to whisk until the sauce is smooth and creamy. Simmer until it is thick enough to coat the back of a spoon. This will take approx. 10 minutes.

Photobucket

Photobucket

Photobucket

Photobucket

Photobucket

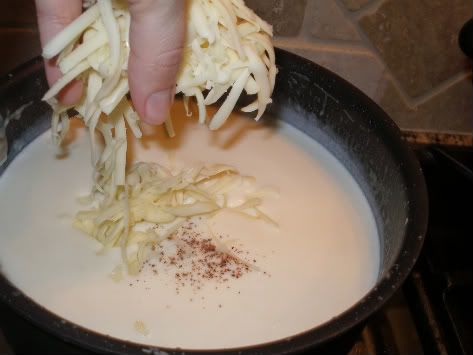
Remove from heat and stir in nutmeg, 1/2 cup of fontina, deli meat and season with salt and butter. Set aside.

Photobucket

Photobucket

Photobucket

Photobucket

Photobucket

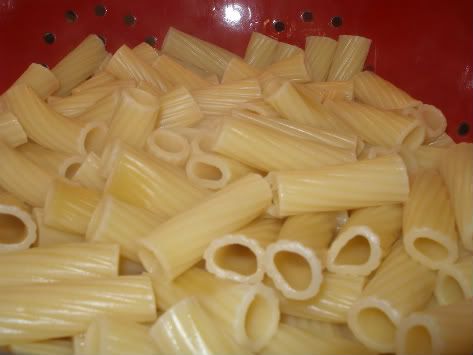
In a large pot, bring to a boil 6 quarts of salted water. Add the rigatoni and cook for 6 minutes. Since you will be cooking the pasta a second time in the oven, you want to make sure the inside is still hard. *my hubby likes it cooked longer. sigh*

Drain in a colander.
Photobucket

Return pasta to the baking dish and pour in the bechamel sauce.

Photobucket

Photobucket

Using a wooden spoon, mix well until all the pasta is coated with a sauce. Smooth top and sprinkle with remaining 1/2 cup fontina. Dot the top with diced butter and bake in oven for 25 minutes.

Photobucket

Photobucket

Photobucket

Enjoy!

Bon Appetit!

February 17, 2009

Tilapia with lime.

This was my first time cooking with this type of fish. I LOVE it! It's so flaky and light! I can see myself making this dish often for summer. Quick and flavorful! If you have never had it too, try it! It's yummy!

Tilapia with lime.

4 Tilapia fillets
1 lime, zested and juice reserved
4 tbsp of butter
Salt and Pepper

Preheat over at 375.

Butter or spray some cooking spray on a baking dish.

Rinse and pat dry the fillets. Season them with salt and pepper.

Place the fillets on the baking dish and pour the lime juice over them. Sprinkle the zest and add a pat of butter on each fillet.

Photobucket

Photobucket

Photobucket

Photobucket

Bake for 10 minutes. That's it! Easy right? My kids loved it so it'll be in my menu rotation.

Bon Appetit!

February 16, 2009

Tiramisu.

This is one of my favorite desserts. When I was young, I would order it since I had no inkling on how it was made. Once I moved here or what I like to call No Real Bakeries City, I had to know how it was made. Here is the recipe that I use. I usually double it since we pretty much eat it all rather quickly. For those who are afraid of raw eggs, this might not be your favorite dessert. Tie on your apron and lets start!

Photobucket

Ingredients

I pkg of lady fingers
1 8oz of mascarpone cheese, room temp.
3 eggs, room temp. and separated
3 tbsp of sugar
1/4 cup of espresso or very strong coffee
3 tbps of Kahlua
1 tsp of Vanilla Extract

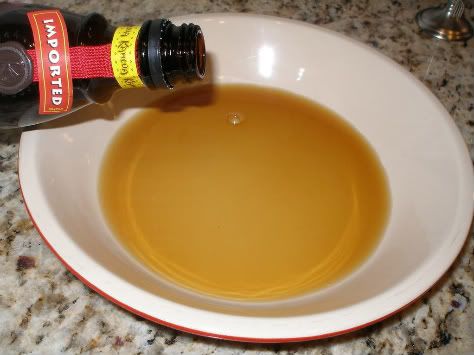
In a small bowl, mix the coffee or espresso and Kahlua together. Set aside.

Photobucket

Photobucket

Photobucket

Oh look! I made a fish!

Photobucket

Beat the eggs white with the sugar until stiff peaks appear. Set aside.

Photobucket

Photobucket

In another bowl, beat the egg yolks and vanilla until it's a creamy light yellow. Add the mascarpone cheese and mix well.

Photobucket

Photobucket

Fold in gently the egg whites. Don't over mix it! You want the "cream" to be light.

Photobucket

Photobucket

In a square Pyrex dish, place the ladyfingers on a row. You can either pour some of the coffee/Kahlua mixture over them or dip the ladyfingers one at a time.

Photobucket

Photobucket

Once one layer is done, add half of the "cream" on top. Spread it evenly. Now add another layer of ladyfingers and and top it off with the "cream".

Photobucket

Photobucket

Photobucket

Photobucket

Pop it in the fridge for 5 hours or more if it's still too soft. It should be able to stand by itself once cut. Sprinkle cocoa powder on top and cut yourself a piece. Hmm. I think this dessert is great for diabetics since there's only 3 tbsp of sugar in the whole thing!

Here's a piece for moi. Mmmm.

Photobucket

Photobucket

Bon Appetit!
 

Montrealaise en Californie | Creative Commons Attribution- Noncommercial License | Dandy Dandilion Designed by Simply Fabulous Blogger Templates